

How To Draw A Pepperoni Pizza
Whether it's breakfast, lunch, or dinner, it's always a good time to eat pizza. Even more so if the pizza has lots of toppings paired with oozing melted cheese—so mouthwatering!
With its perfectly baked crust and abundant garnish in various colors, pizza looks as appetizing as it tastes. This is also why pizza is one of the common foods to draw.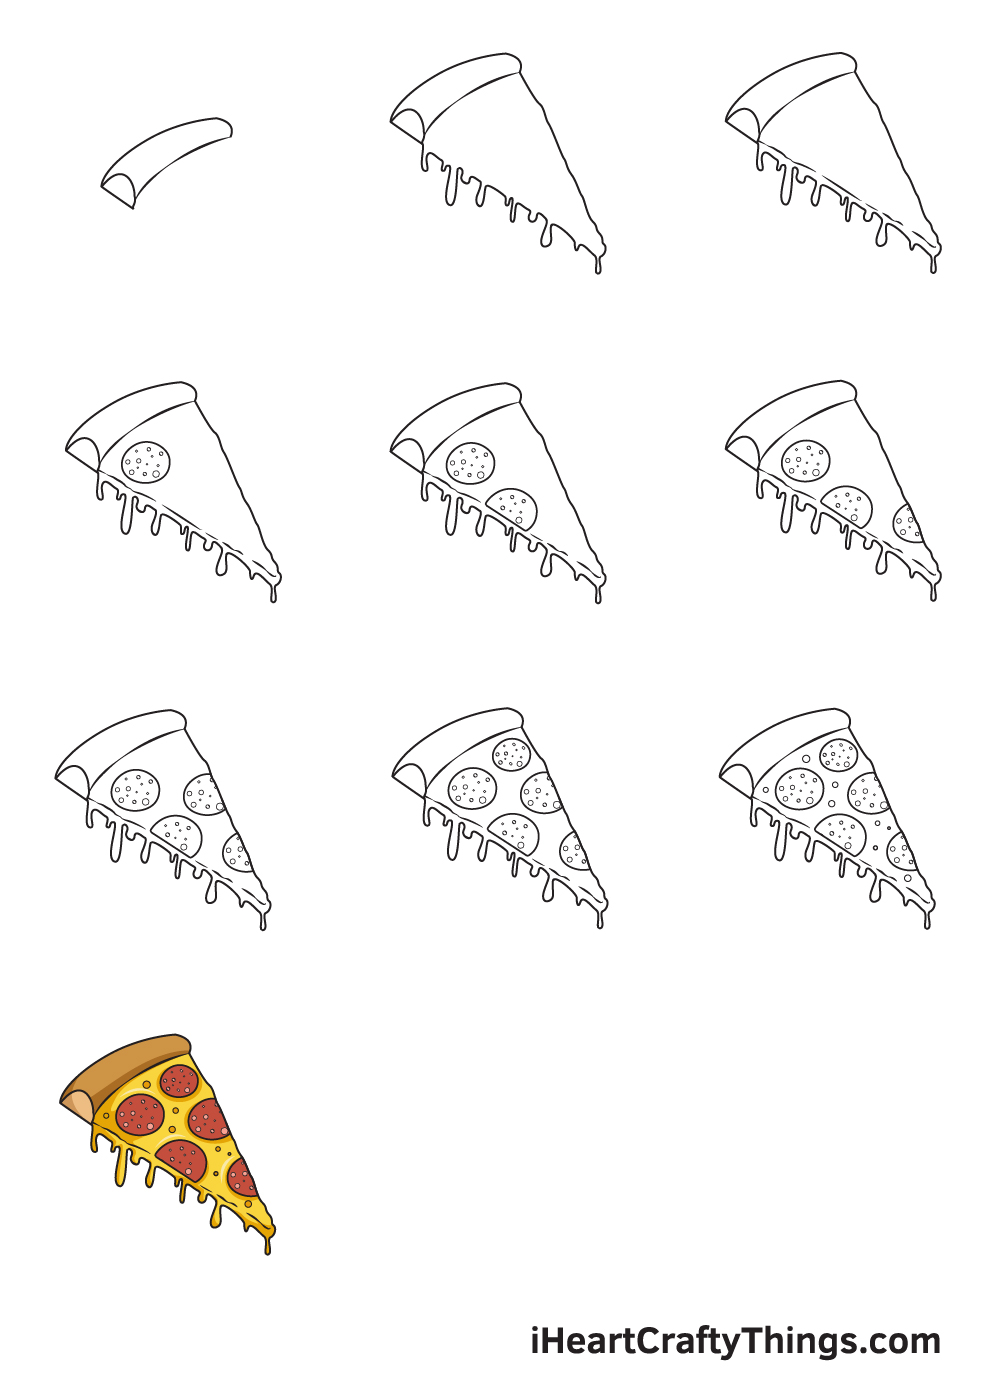
Fortunately, this step-by-step tutorial on how to draw a pizza can help you draw one effortlessly. This guide consists of detailed, yet brief, instructions, all of which come with elaborate visual illustrations.
With this comprehensive tutorial, you might be surprised to discover how easy drawing a pizza actually is!
Have fun and use your artistic skills!
What's in this Blog Post
- How to Draw a Pizza — Let's get started!
- Step 1
- Step 2 — Create an Outline of the Pizza
- Step 3 — Next, Add Details on the Pizza Slice
- Step 4 — Now, Add the Pepperoni on Top
- Step 5 — Draw the Second Pepperoni Toppings
- Step 6 — Afterwards, Add the Third Pepperoni
- Step 7 — Then, Add the Fourth Pepperoni on Top
- Step 8 — Add as Much Topping as You Want
- Step 9 — Now, Add Details on the Melted Cheese
- Your Pizza Drawing is Complete!
How to Draw a Pizza — Let's get started!
Step 1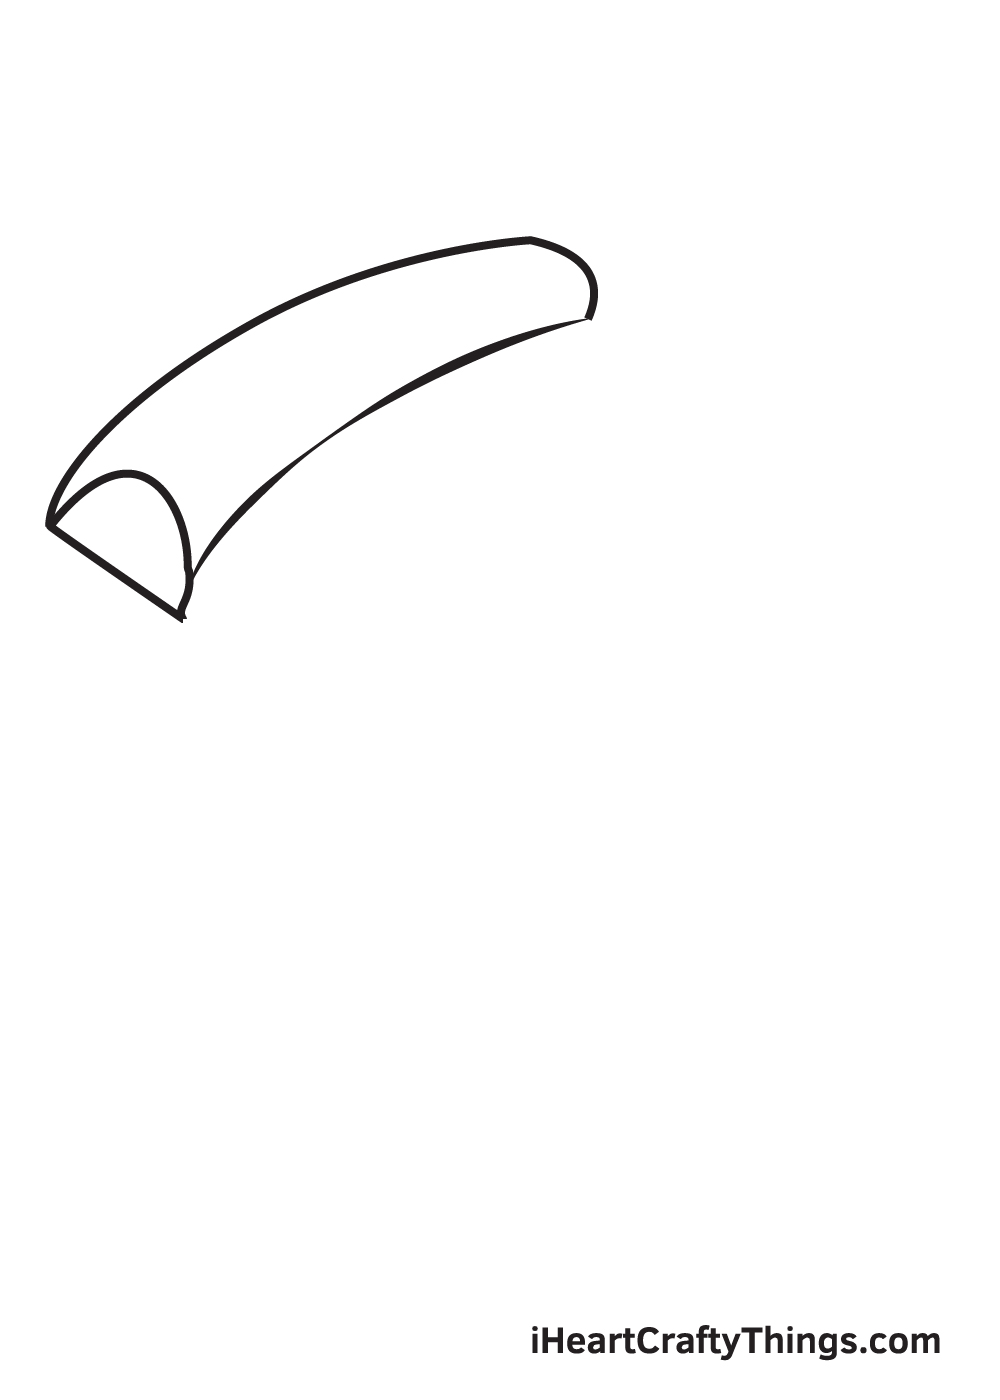
Starting on the upper left portion of your paper, draw two parallel curved lines forming the pizza crust.
Then, draw another two curved lines on both ends of the crust. Don't forget to add a diagonal line at the bottom of the curved line to create a three-dimensional effect.
Step 2 — Create an Outline of the Pizza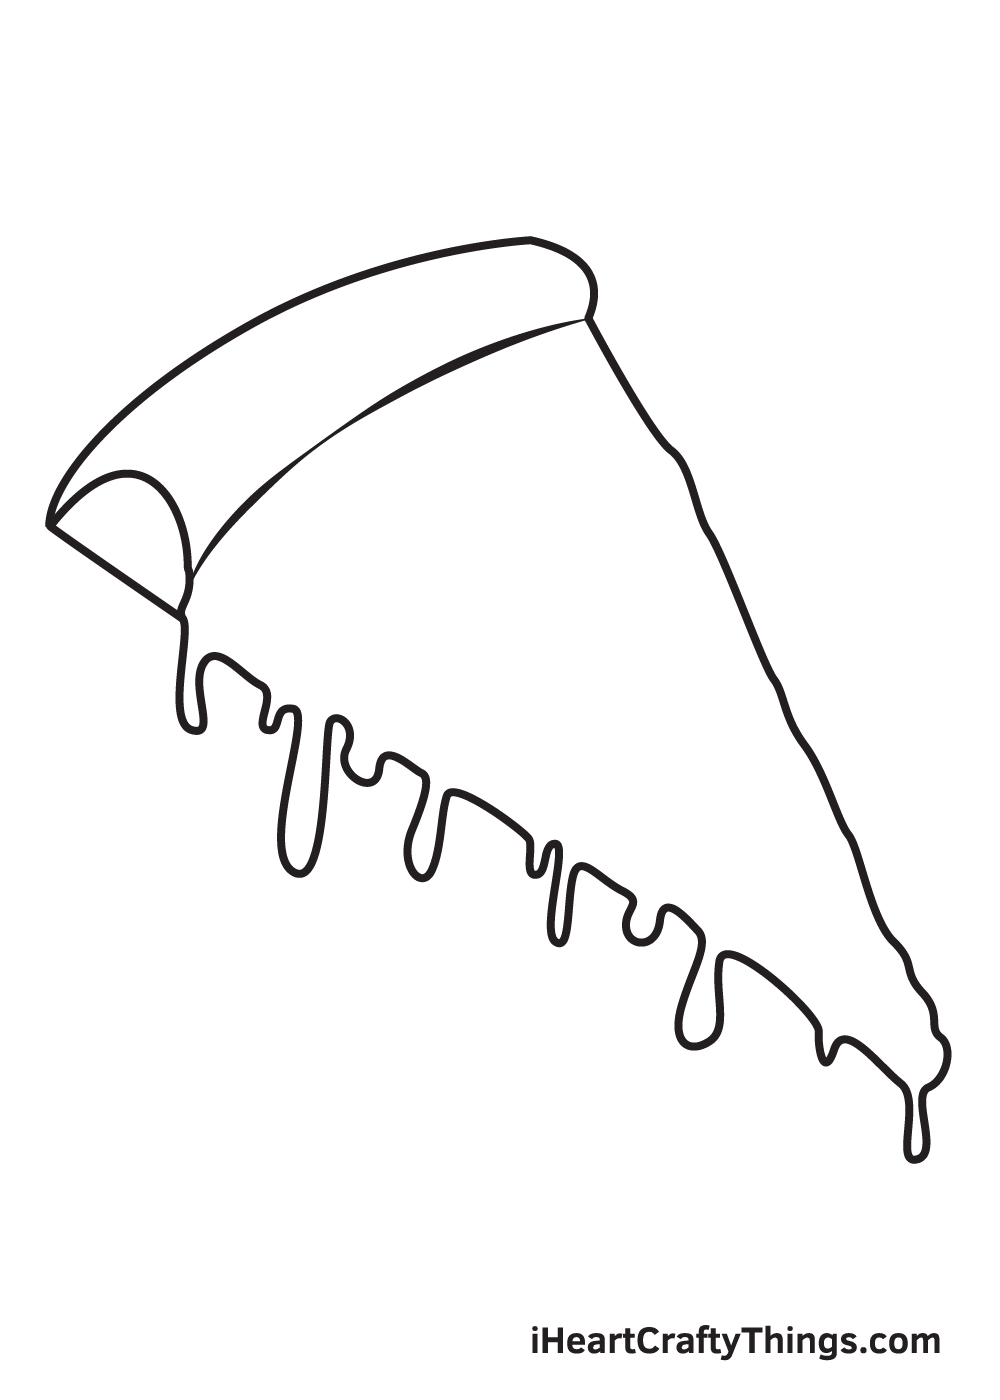
To complete the shape of the pizza, draw a sideways triangle shape connected to the crust. The top side of the triangle shape should be a slightly bumpy diagonal line while its bottom part should have a drip effect.
Drawing a drip effect is simple and easy! Simply draw multiple side-by-side droplets dripping from the same surface level.
Make sure to draw the dripping droplets in various sizes, as shown in the illustration above, to achieve the perfect drip effect!
Step 3 — Next, Add Details on the Pizza Slice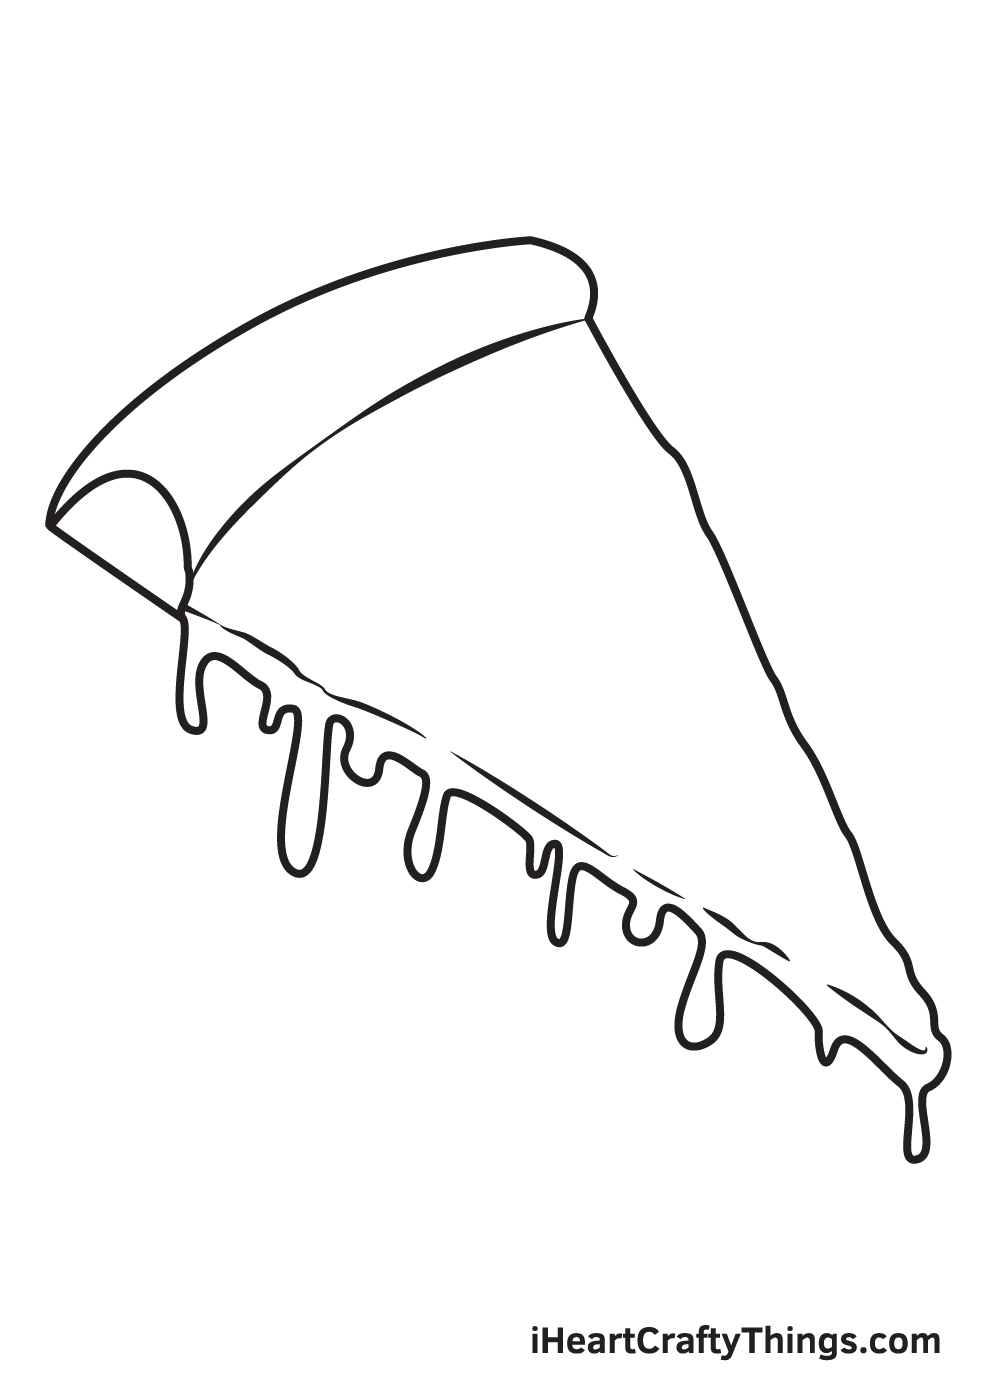
Draw detached lines right above the drip effect to magnify the outline of the pizza. Avoid pressing down too hard with your pencil when drawing these lines to keep them light and not harsh.
Don't worry if the lines are not straight or if they look slightly bumpy. As a matter of fact, uneven light strokes are preferred to make your pizza look realistic.
Step 4 — Now, Add the Pepperoni on Top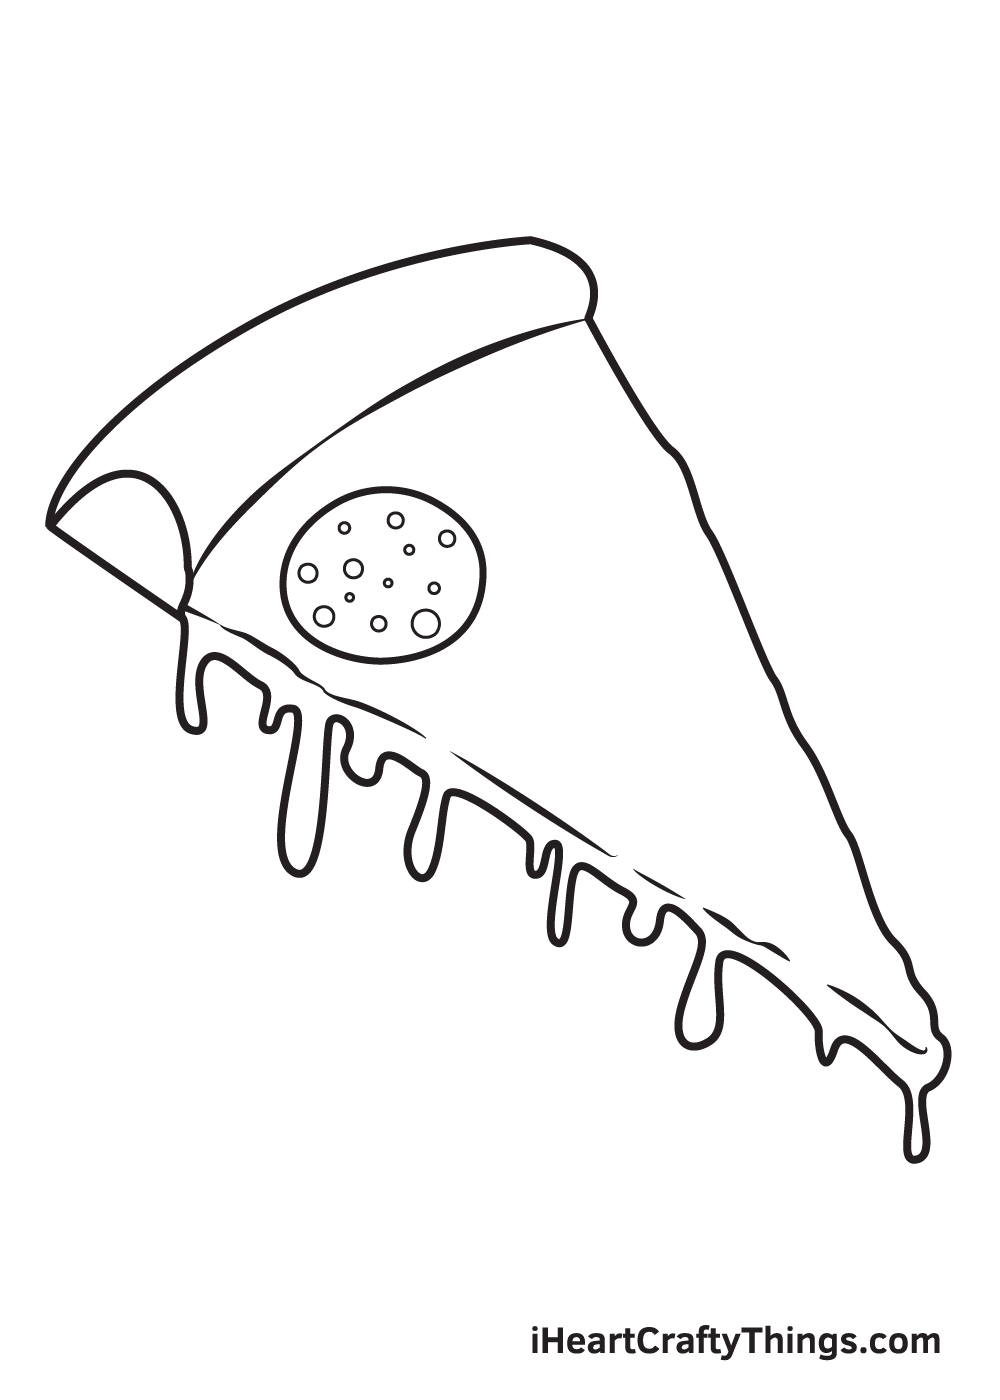
A slice of pizza wouldn't be complete without pepperoni toppings on top, so that's what we will be drawing on this step.
Draw a circle shape laid flat on the surface at the top of the pizza, forming the shape of a single pepperoni. Then, draw smaller circles inside to create a realistic-looking pepperoni!
Step 5 — Draw the Second Pepperoni Toppings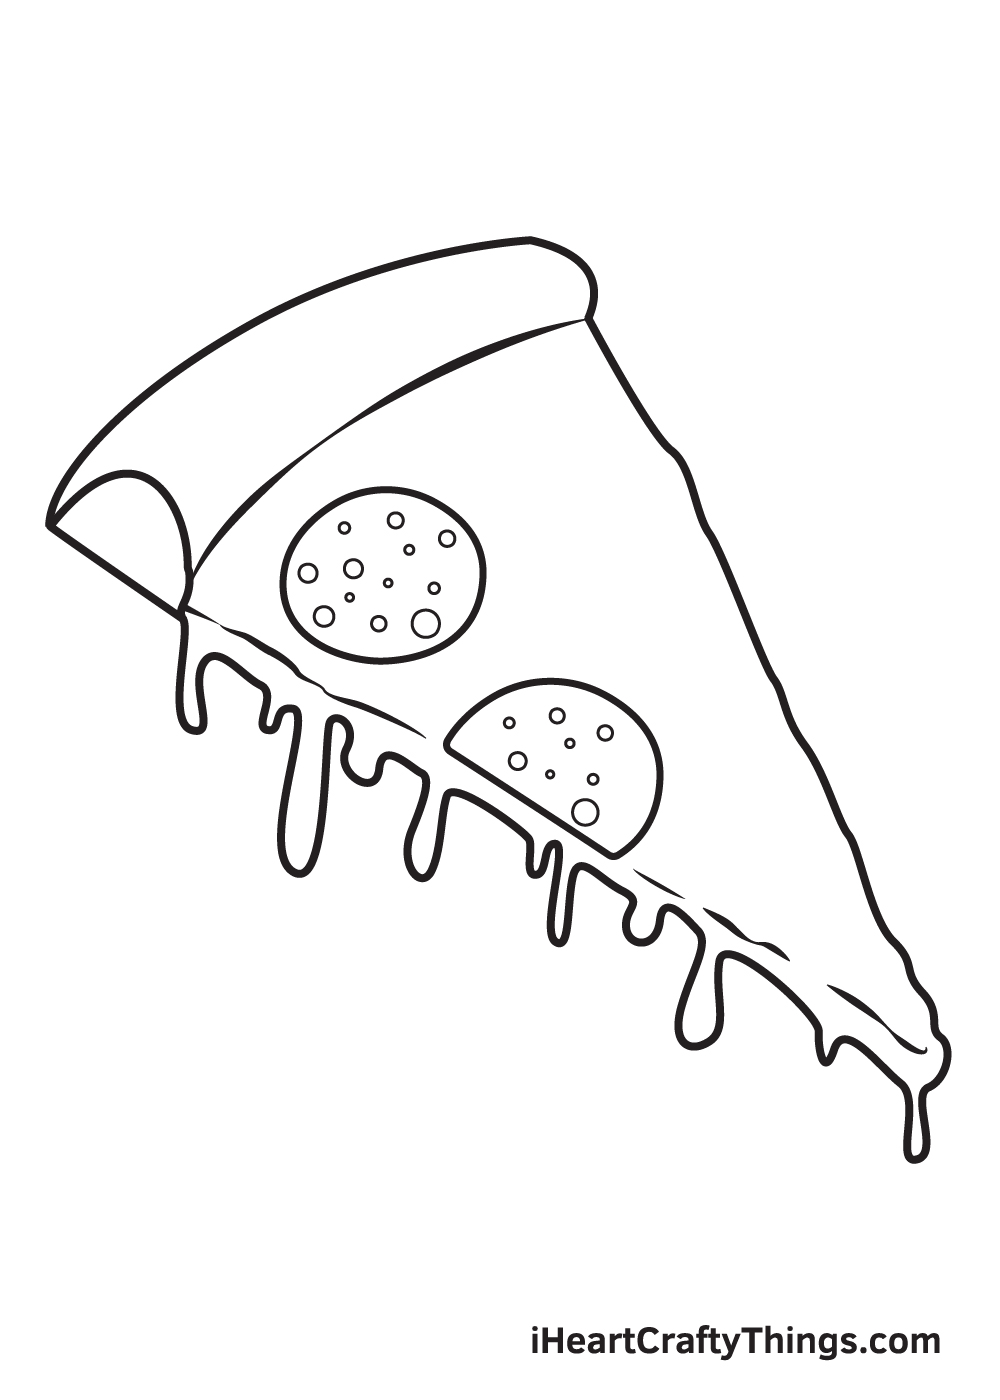
Let's add more pepperonis on your pizza to make it more appetizing!
Draw a semicircle shape on the edge of the pizza slice.
Afterwards, draw tiny circles within the pepperoni, as shown in the illustration.
Step 6 — Afterwards, Add the Third Pepperoni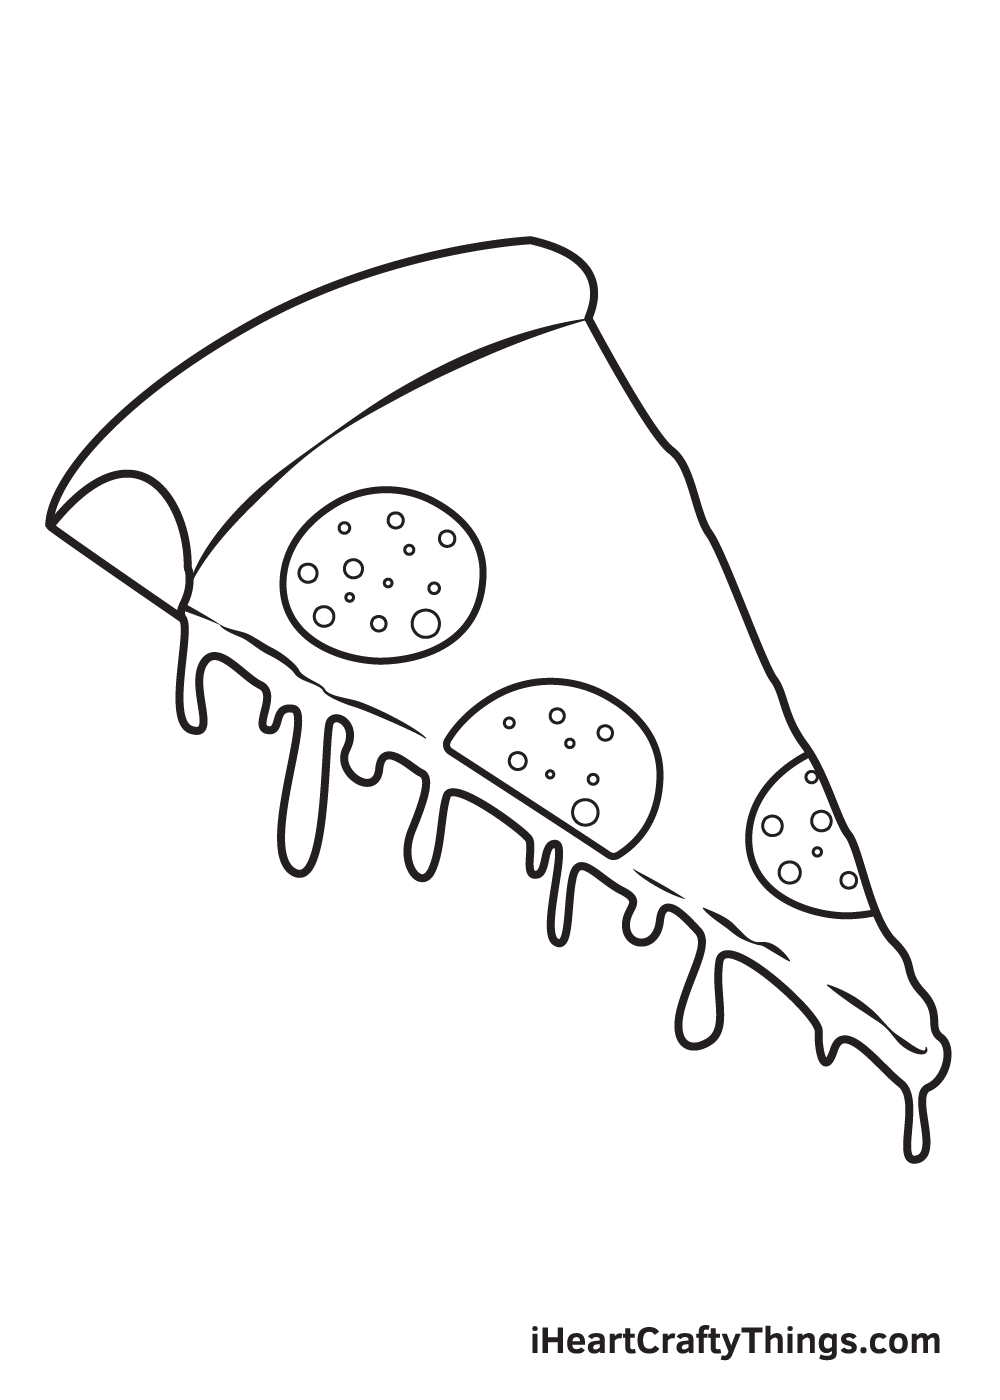
Two pepperonis on one slice of pizza is most definitely not enough, so let's go ahead and add our third pepperoni.
Remember, if you are adding the pepperoni within enough space, then draw a full circle. On the other hand, if you're adding one near the edge, then it should be a semicircle.
Also, make sure that there are gaps in between the pepperonis to make your toppings look evenly distributed.
Step 7 — Then, Add the Fourth Pepperoni on Top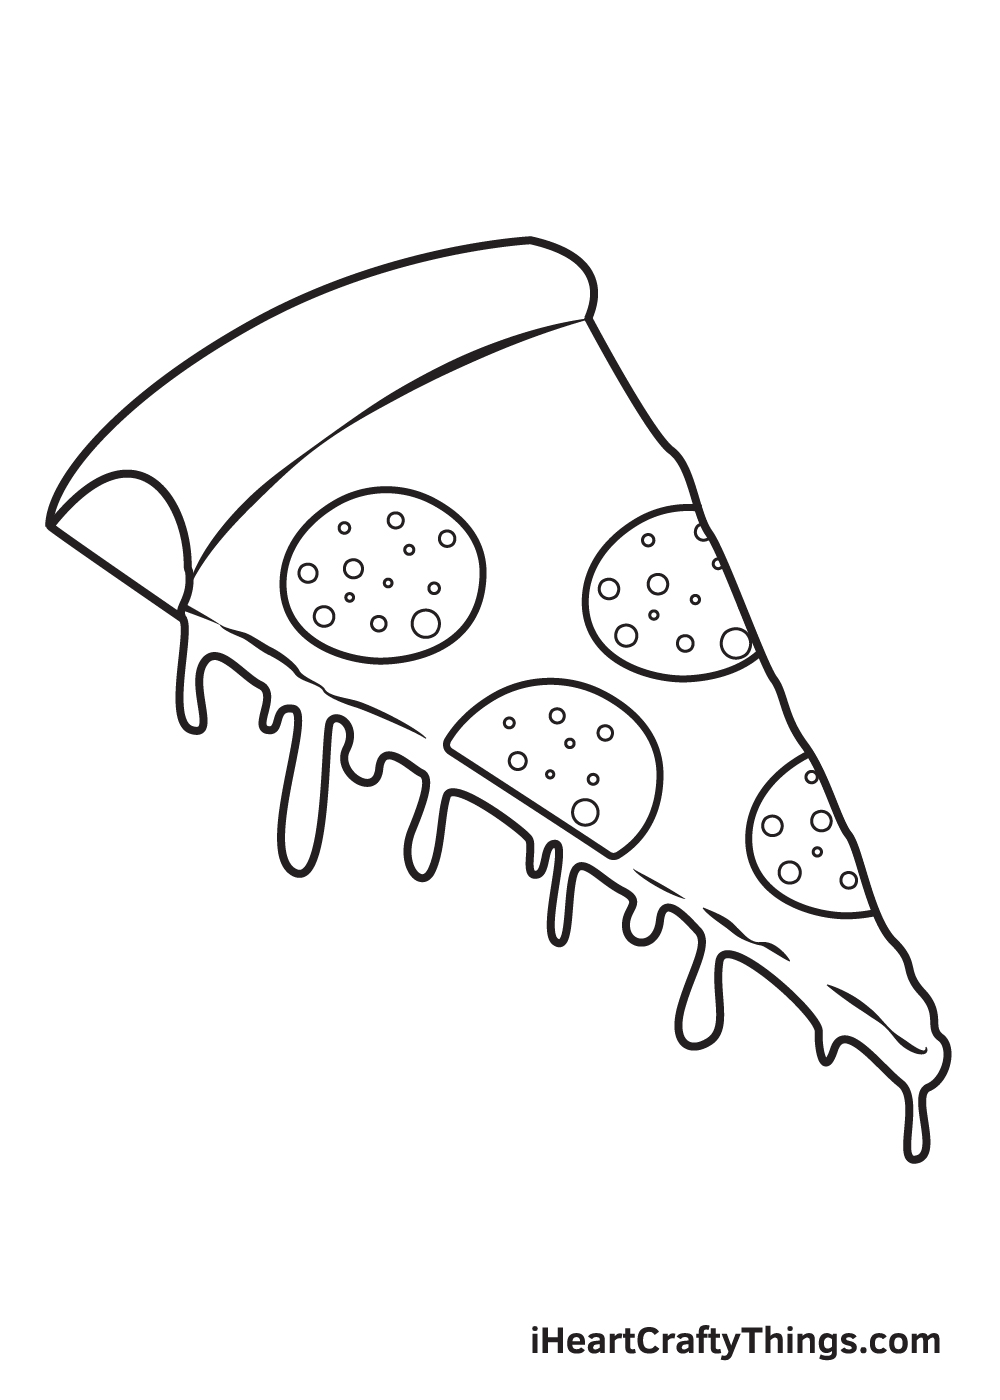
Keep repeating the previous step until you're satisfied with the amount of toppings that's on your pizza.
Don't forget to add toppings over the edge of the pizza too!
Step 8 — Add as Much Topping as You Want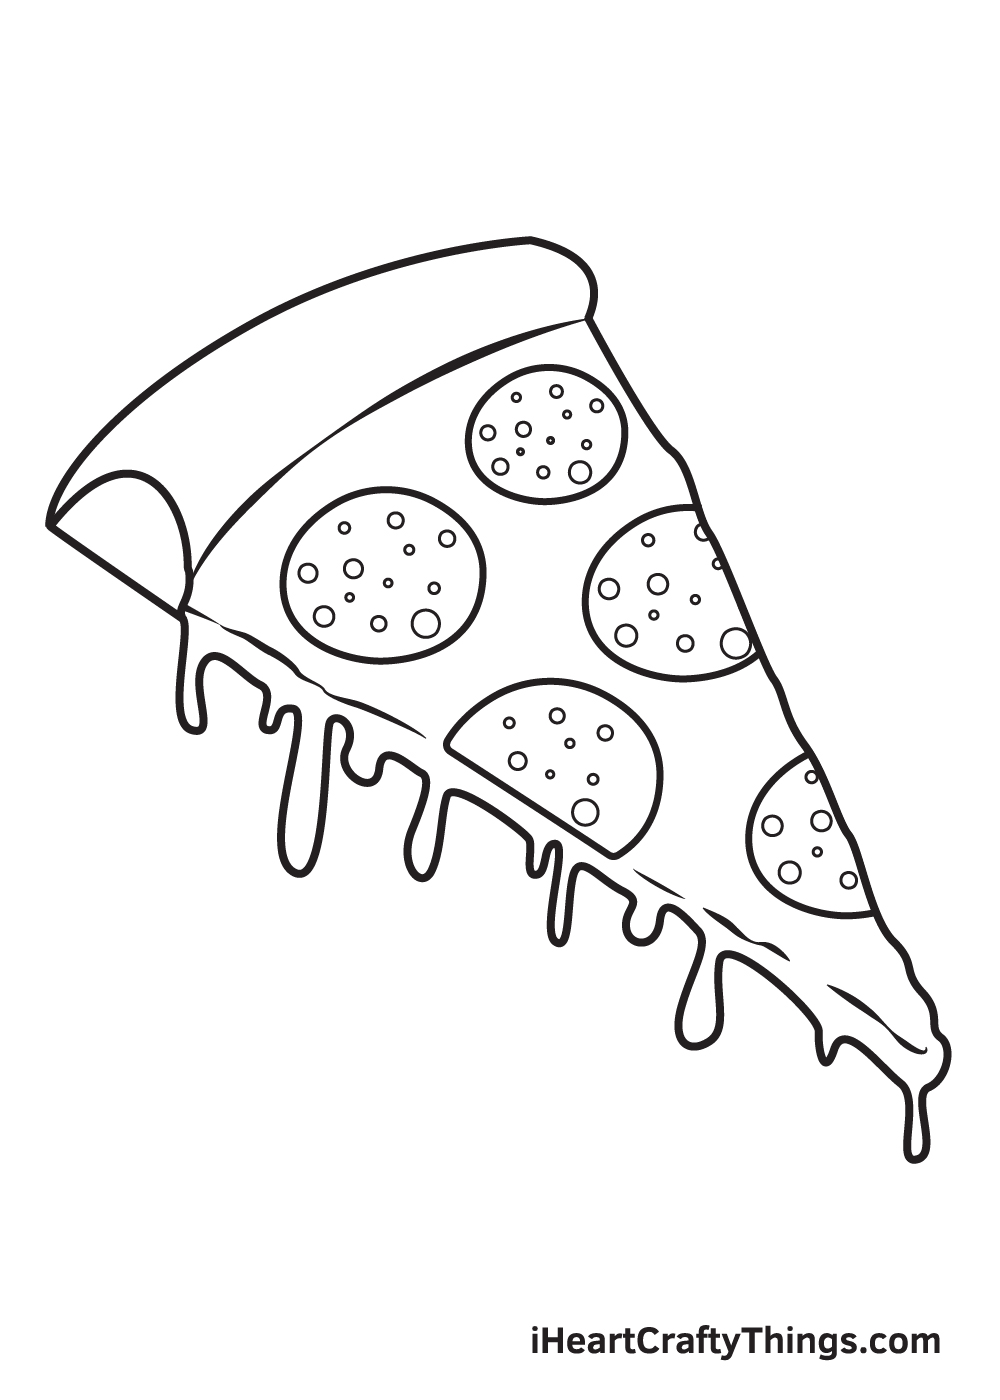
As you can see in the illustration, we kept our pizza plain and simple. We only have a bunch of pepperonis and melted cheese on top of our pizza.
Feel free to customize the toppings and add whatever toppings you like on your pizza! If you like some onions, bell peppers, or perhaps some more meat, go ahead!
Step 9 — Now, Add Details on the Melted Cheese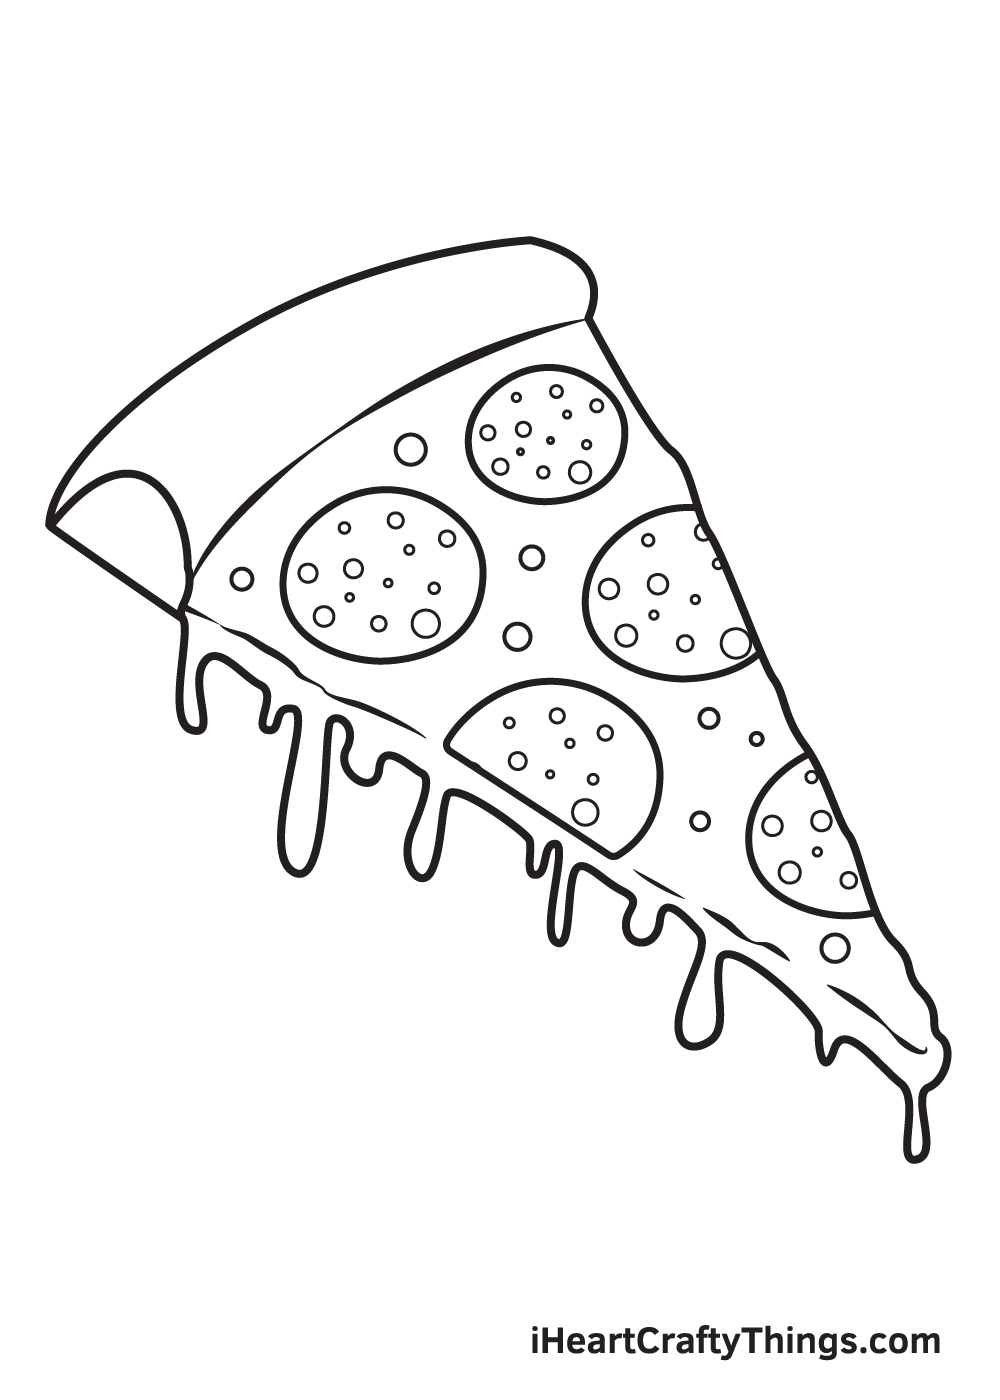
Cheese typically has bubbles, so make sure you add some to the melted cheese on top of your pizza!
Simply draw tiny circle shapes in various sizes all over the surface of your cheese.
Make sure to create a lot of bubbles to add texture, not too many.
Now that we have successfully drawn a mouthwatering slice of pizza, it's time for the most exciting part, which is handpicking the colors and coloring your drawing!
The pizza's crust is typically cream or brown in color, depending on how well-cooked you prefer your pizza to be.
The cheese, on the other hand, is usually vibrant yellow while the pepperonis are pale red with pinkish details.
You can opt to color you drawing similar to how we've done ours or use a unique set of colors.
We recommend doing the latter so you can fully personalize your drawing and make the most out of your experience. We're excited to see which colors you will be using!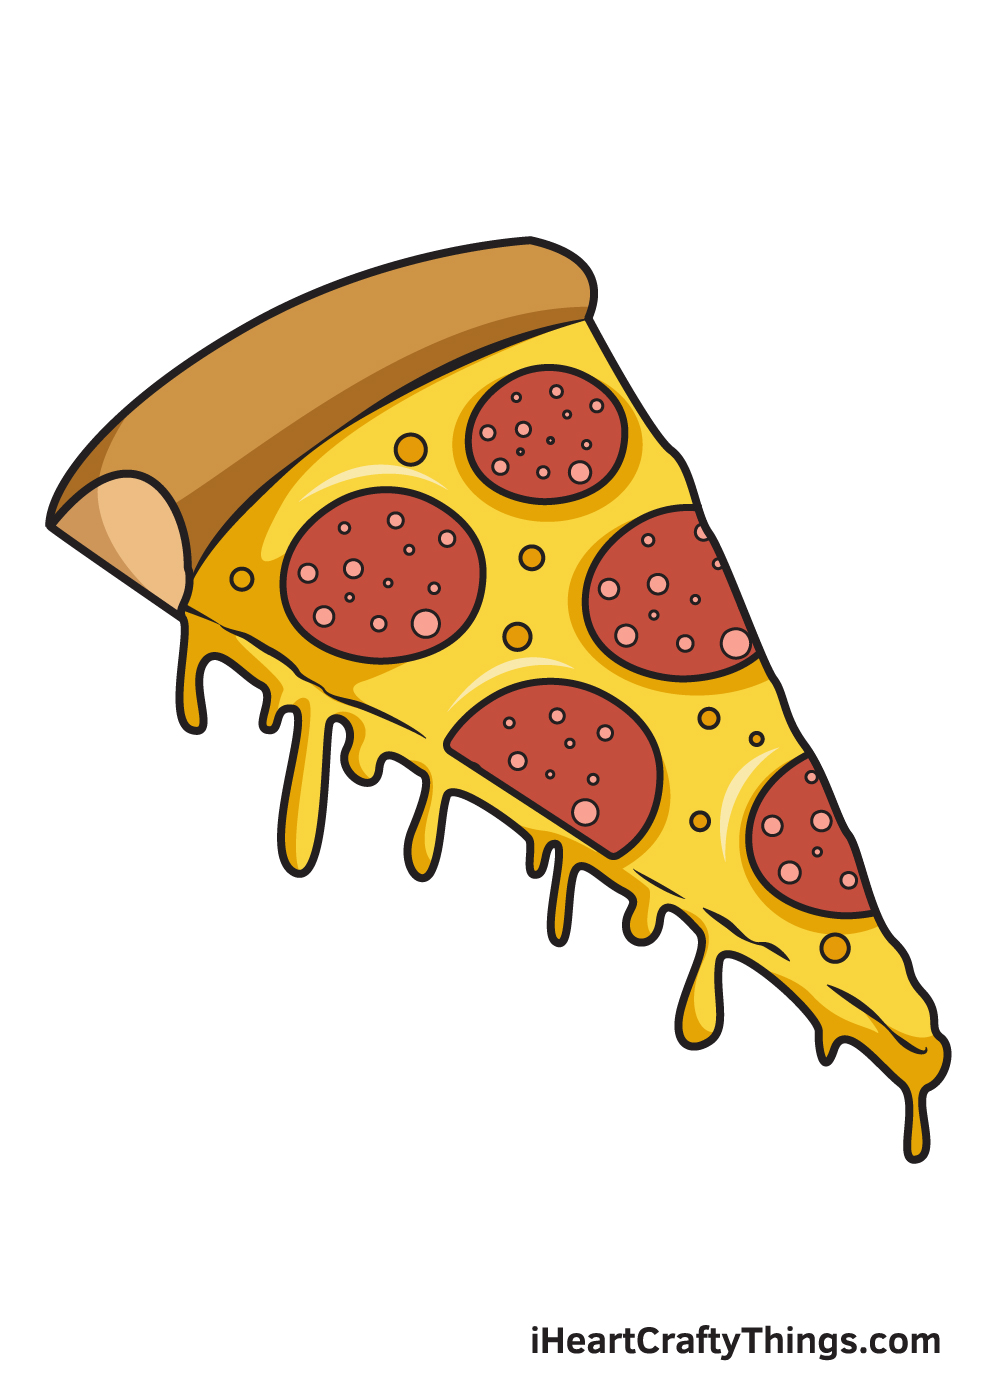
Your Pizza Drawing is Complete!
Pizza is undoubtedly an all-time favorite food. If you're one of the many people who loves pizza, then you will surely enjoy this step-by-step pizza drawing tutorial.
The most enjoyable part about this tutorial is that you can add your favorite toppings!
We are regularly uploading new content on our "How to Draw" catalog, so make sure you keep re-visiting our website to continuously enjoy brand-new drawing tutorials.
Also, let us know what you would like to learn how to draw next!
As soon as you finish drawing and coloring a pizza, take a picture of your artwork and share it on our Facebook page and Pinterest.
Don't be embarrassed to show off your masterpiece. You've worked so hard for it, so we can tell for sure that it looks incredible!
We would love to see your delectable and colorful pizza drawing!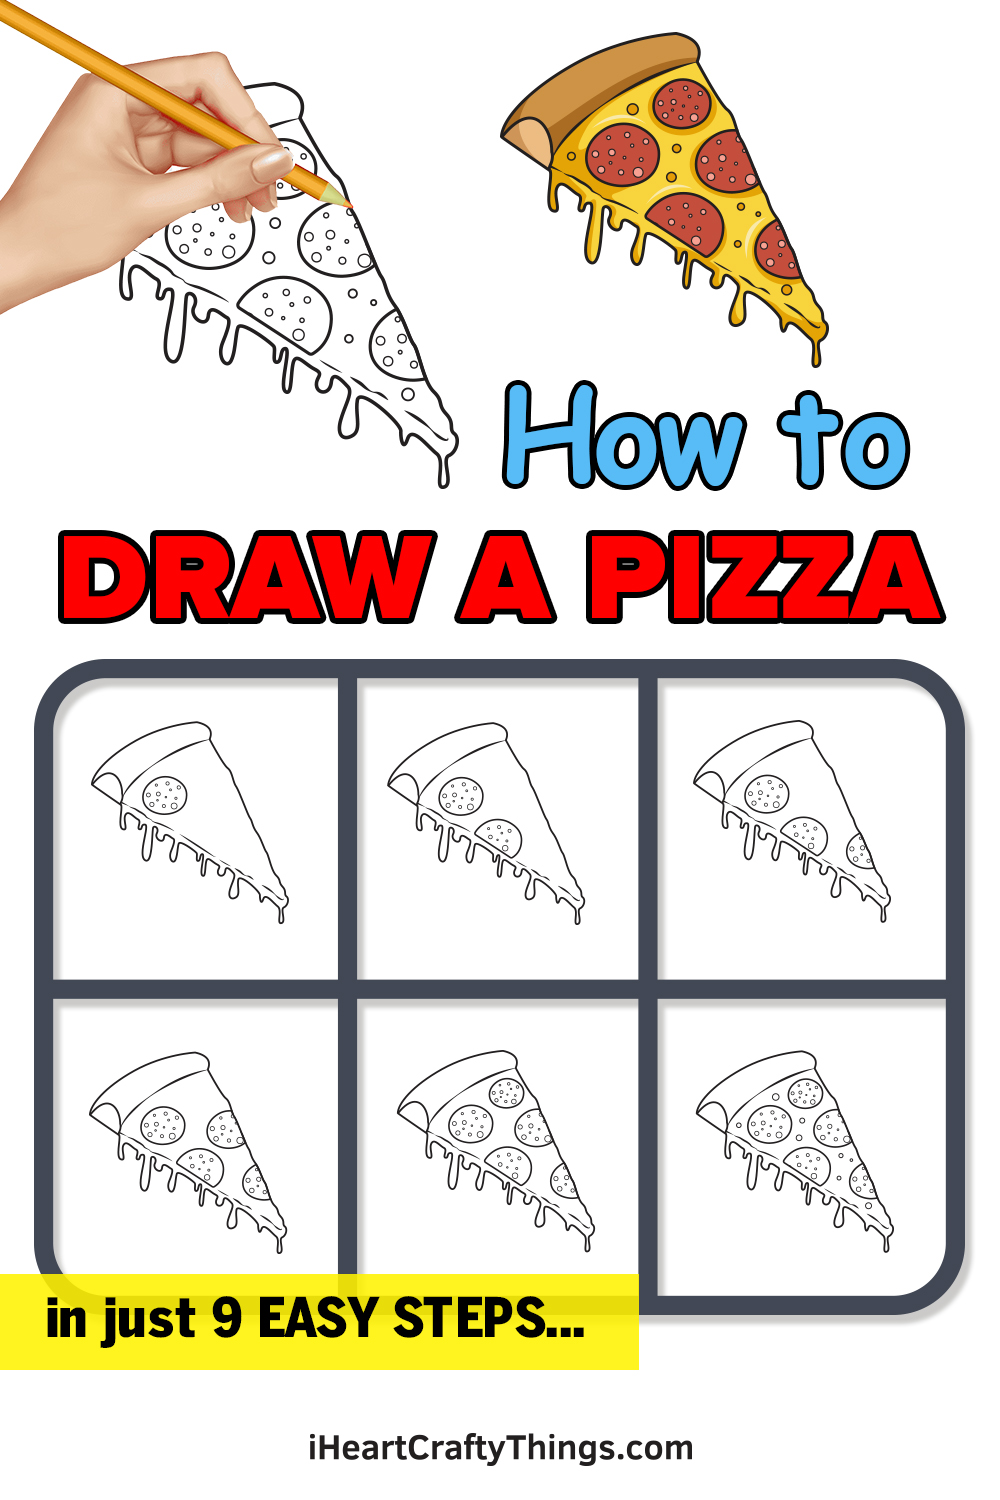
How To Draw A Pepperoni Pizza
Source: https://iheartcraftythings.com/pizza-drawing.html
Posted by: crowleytrie1968.blogspot.com
0 Response to "How To Draw A Pepperoni Pizza"
Post a Comment